Introduction
In this article, I will discuss the incredible face-swapping technology and provide a step-by-step guide on how to change your face in any image. This technology allows you to replace faces in images with incredible accuracy, even matching lighting and painting styles. I will cover topics such as setting up the technology, swapping faces, using it with mid-journey AI, creating multiple face IDs, and more.
Listen to the full Article
Setting Up How to Change your face
To set up the face swap technology, you will need a Discord account. Once you have created an account, you can create a server by clicking on the plus icon and selecting ‘add a server.’ Name your server, such as ‘face swap,’ and click on ‘create.’ Next, you must invite a bot onto the server to perform the face swapping. You can find the link to the bot in the video description. After authorizing the bot, you are all set up.
Saving and Swapping Faces
To save a face for swapping, type ‘/save ID’ and drag and drop the desired face into the system. Give it a name, such as ‘Bean,’ and hit enter. Now, to swap faces, type ‘/swap ID’ and drop the image you want to perform the face swap on. For example, you can replace John Cena’s face with Bean’s face. You can also use the ‘swapper’ app by right-clicking on the image and selecting ‘apps’ and ‘swapper.’ The technology even captures facial expressions, making the face swap more realistic.
Using Mid-Journey AI

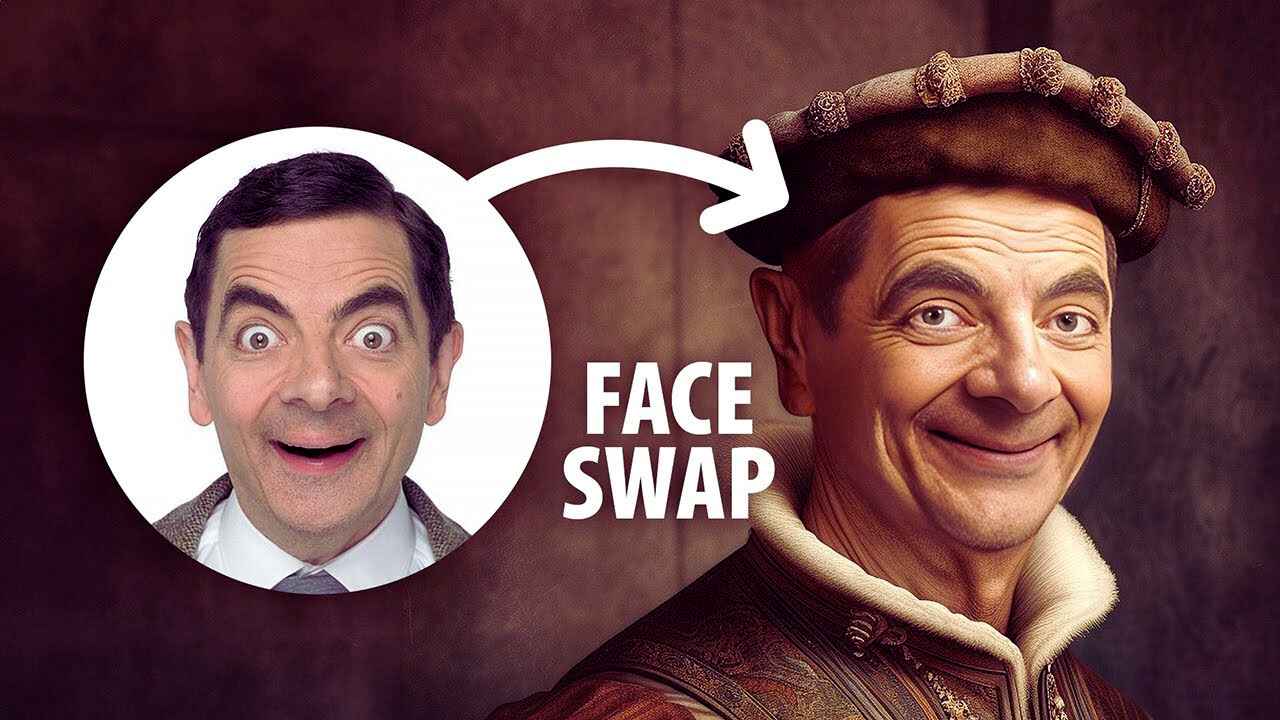
To use the face swap technology with mid-journey AI, you need to invite the mid-journey bot onto the server. You can find the bot on your mid-journey server and add it to the face swap server. Once added, you can give mid-journey commands, such as imagining a Renaissance portrait of a man smiling. The technology will generate the image, and you can use the face swap feature to replace faces with the desired IDs.
Creating Multiple Face IDs
You can create multiple face IDs by typing ‘/save ID’ and repeating the process for different faces, such as Emma Watson and Taylor Swift. Once you have created these IDs, you can apply them to the same image. For example, you can imagine Emma Watson playing Wonder Woman and see how it looks. The technology even captures lighting and angles accurately, providing a realistic result.
Managing Face IDs
To see a list of all the face IDs you have created and set a default ID, type ‘/list ID.’ This will display all the IDs, including the current selected one. You can change the current ID by typing ‘/set ID’ and selecting the desired ID. This allows you to easily apply different IDs to images and achieve various face swaps.
Enhancing and Fixing Face Swaps
While the face swap technology provides an excellent starting point, there may be some artifacts or imperfections that can be fixed using tools like Photoshop. Additionally, you can use generative fill to generate missing parts of the face. The technology takes care of face angles, lighting, shadows, color grading, and expressions automatically, saving you time and effort.
Conclusion
The face-swapping technology showcased in this video is truly incredible. It allows you to replace faces in images with astonishing accuracy, even capturing expressions and matching lighting conditions. With a step-by-step guide, you can easily set up the technology, save and swap faces, use it with mid-journey AI, create multiple face IDs, and enhance the results. The possibilities are endless, and this technology opens up new creative opportunities.

1 thought on “How you can Change Your Face Into Any Photo with a step-by-step guide”